Revive Your Wardrobe: A Complete DIY Guide to Upcycling Stained Clothes with Fabric Painting
- jodavowithus
- Nov 19, 2025
- 3 min read

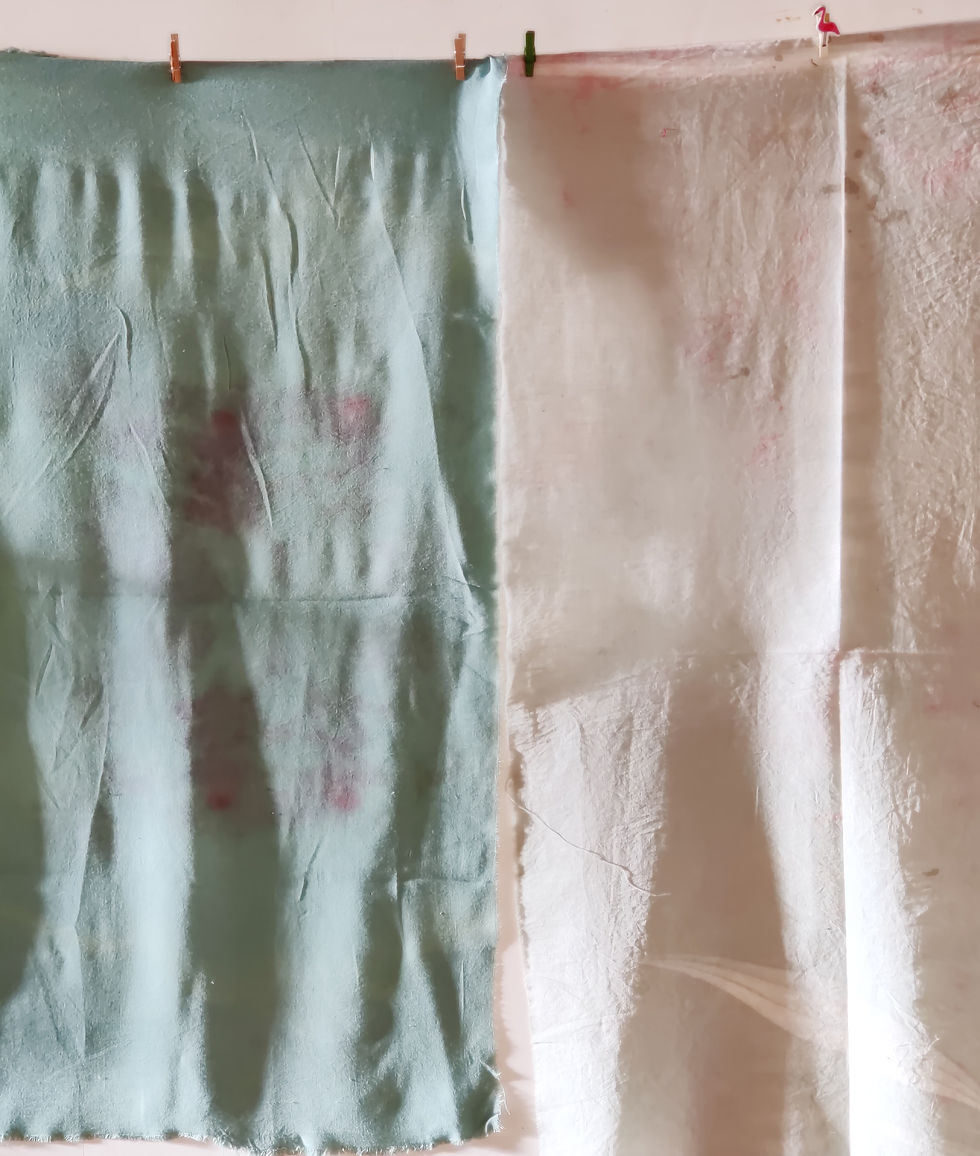
Stains on your favorite clothes can feel like the end of the road for those pieces. Instead of tossing them out, you can breathe new life into stained garments with fabric painting. This guide will walk you through practical steps to cover stains and transform your clothes into unique, wearable art. Whether you want to hide a stubborn mark or create a bold design, fabric painting offers a creative and sustainable way to upcycle clothes.
Why Upcycle Clothes with Fabric Painting?
Throwing away stained clothes contributes to textile waste, which is a growing environmental problem. Upcycling clothes by painting over stains not only saves money but also reduces waste. Fabric painting allows you to:
Cover stains effectively without harsh chemicals or expensive treatments.
Personalize your wardrobe with custom designs that reflect your style.
Extend the life of garments that might otherwise be discarded.
Practice a sustainable hobby that supports eco-friendly fashion.
This approach turns a problem—stains—into an opportunity for creativity and sustainability.

Materials You Will Need
Before starting your fabric painting project, gather the following supplies:
Fabric paints (acrylic-based or textile-specific)
Paintbrushes in various sizes
A palette or plate for mixing colors
Water container for rinsing brushes
Fabric medium (optional, to mix with acrylic paint for better fabric adherence)
Cardboard or plastic sheet to place inside the garment to prevent paint bleed-through
Pencil or fabric chalk for sketching designs
Old clothes or rags for practice
Choosing the right fabric paint is crucial. Textile-specific paints are designed to be flexible and washable, ensuring your design lasts through many washes.
Preparing Your Clothes for Painting
Proper preparation helps paint adhere better and prevents unwanted smudging.
Wash and dry the garment to remove dirt, oils, or sizing that might block paint absorption.
Iron the fabric to create a smooth surface for painting.
Place cardboard inside the garment to keep paint from bleeding through to the back.
Lightly sketch your design over the stained area using pencil or fabric chalk. This step is optional but helps guide your painting.
If the stain is very dark or large, consider painting a base layer of opaque fabric paint to cover it before adding your design.
Techniques to Cover Stains with Fabric Paint
Here are some effective methods to hide stains while adding artistic flair:
1. Abstract Patterns
Use bold brush strokes, dots, or splatters to create abstract designs that distract from the stain. Layering colors can add depth and interest.
2. Floral or Nature Motifs
Painting flowers, leaves, or vines over stains can create a natural, organic look. Use fine brushes for details and blend colors for realism.
3. Geometric Shapes
Triangles, circles, and stripes can cover stains with a modern, graphic style. Use painter’s tape for clean edges if desired.
4. Mandalas or Circular Designs
Mandala patterns radiate from a central point and can cleverly mask stains while adding intricate detail.
5. Typography or Quotes
Write a favorite quote or word over the stained area. Use stencils or freehand lettering with fabric paint pens for precision.
Step-by-Step Fabric Painting Tutorial
Follow these steps for a successful stain cover project:
Choose your design based on the stain size and garment color.
Prepare your workspace with newspapers or plastic sheets to protect surfaces.
Place cardboard inside the garment to prevent paint bleed.
Sketch your design lightly on the fabric.
Apply a base coat if needed to cover dark stains.
Paint your design using thin layers, allowing each to dry before adding the next.
Let the paint dry completely (usually 24 hours).
Heat set the paint by ironing the reverse side or following the paint manufacturer’s instructions to make it washable.
Wash the garment gently after 72 hours to ensure paint durability.
Tips for Best Results
Test paint on a scrap fabric or hidden area first.
Use fabric medium with acrylic paint to keep fabric soft.
Avoid thick paint layers to prevent cracking.
Work in a well-ventilated area.
Be patient and let each layer dry fully.
Use fine brushes for details and larger brushes for filling.

Creative Ideas for DIY Fabric Art on Clothes
Once you master covering stains, you can explore other fabric painting ideas:
Add painted patches or badges to plain jeans or jackets.
Create ombre or gradient effects with multiple colors.
Paint matching designs on a set of clothes for a coordinated look.
Use stencils for consistent shapes and patterns.
Combine fabric paint with embroidery for texture.
Caring for Painted Clothes
To keep your painted clothes looking fresh:
Wash inside out on a gentle cycle with cold water.
Avoid bleach and harsh detergents.
Hang dry or tumble dry on low heat.
Iron on the reverse side if needed.
Proper care extends the life of your fabric art and keeps colors vibrant.


Comments